📡 How to Align Starlink for the Best Internet Connection | My Blog
📡 How to Align Starlink for the Best Internet Connection
Slug: how-to-align-starlink-for-the-best-internet-connection Date: 7/28/2025, 2:08:57 AM
Views: 626 |
Likes:1
With Starlink becoming a go-to solution for fast internet in remote and rural areas, many users wonder: How do I align my Starlink dish for the best signal?
Whether you’re setting it up for the first time or trying to improve performance, this guide will walk you through everything you need to know — step-by-step.
⸻
🧰 What You’ll Need
Before getting started, make sure you have:
• Your Starlink kit (Dish, router, cables)
• A clear view of the sky
• The Starlink App (Download it on Android or iOS)
• A stable power source
• A mount or tripod (roof mount, pole, or ground setup)
⸻
🚀 Step 1: Unbox and Connect
Start by unboxing your Starlink dish (called “Dishy”) and its components. Connect the cable from the dish to the router or power unit, then plug the system into a power outlet.
Once powered, the dish will automatically begin searching for satellites. This can take 10–15 minutes.
⸻
📍 Step 2: Choose the Perfect Spot
The key to strong Starlink performance is location.
• Find a place with a wide, open view of the sky.
• Avoid trees, walls, or tall buildings nearby.
• Use the “Check for Obstructions” feature in the Starlink app.
• This tool uses your phone’s camera to scan the sky and show areas that might block the signal.
If you see any obstructions, try a different spot or mount the dish higher (on a roof or pole).
⸻
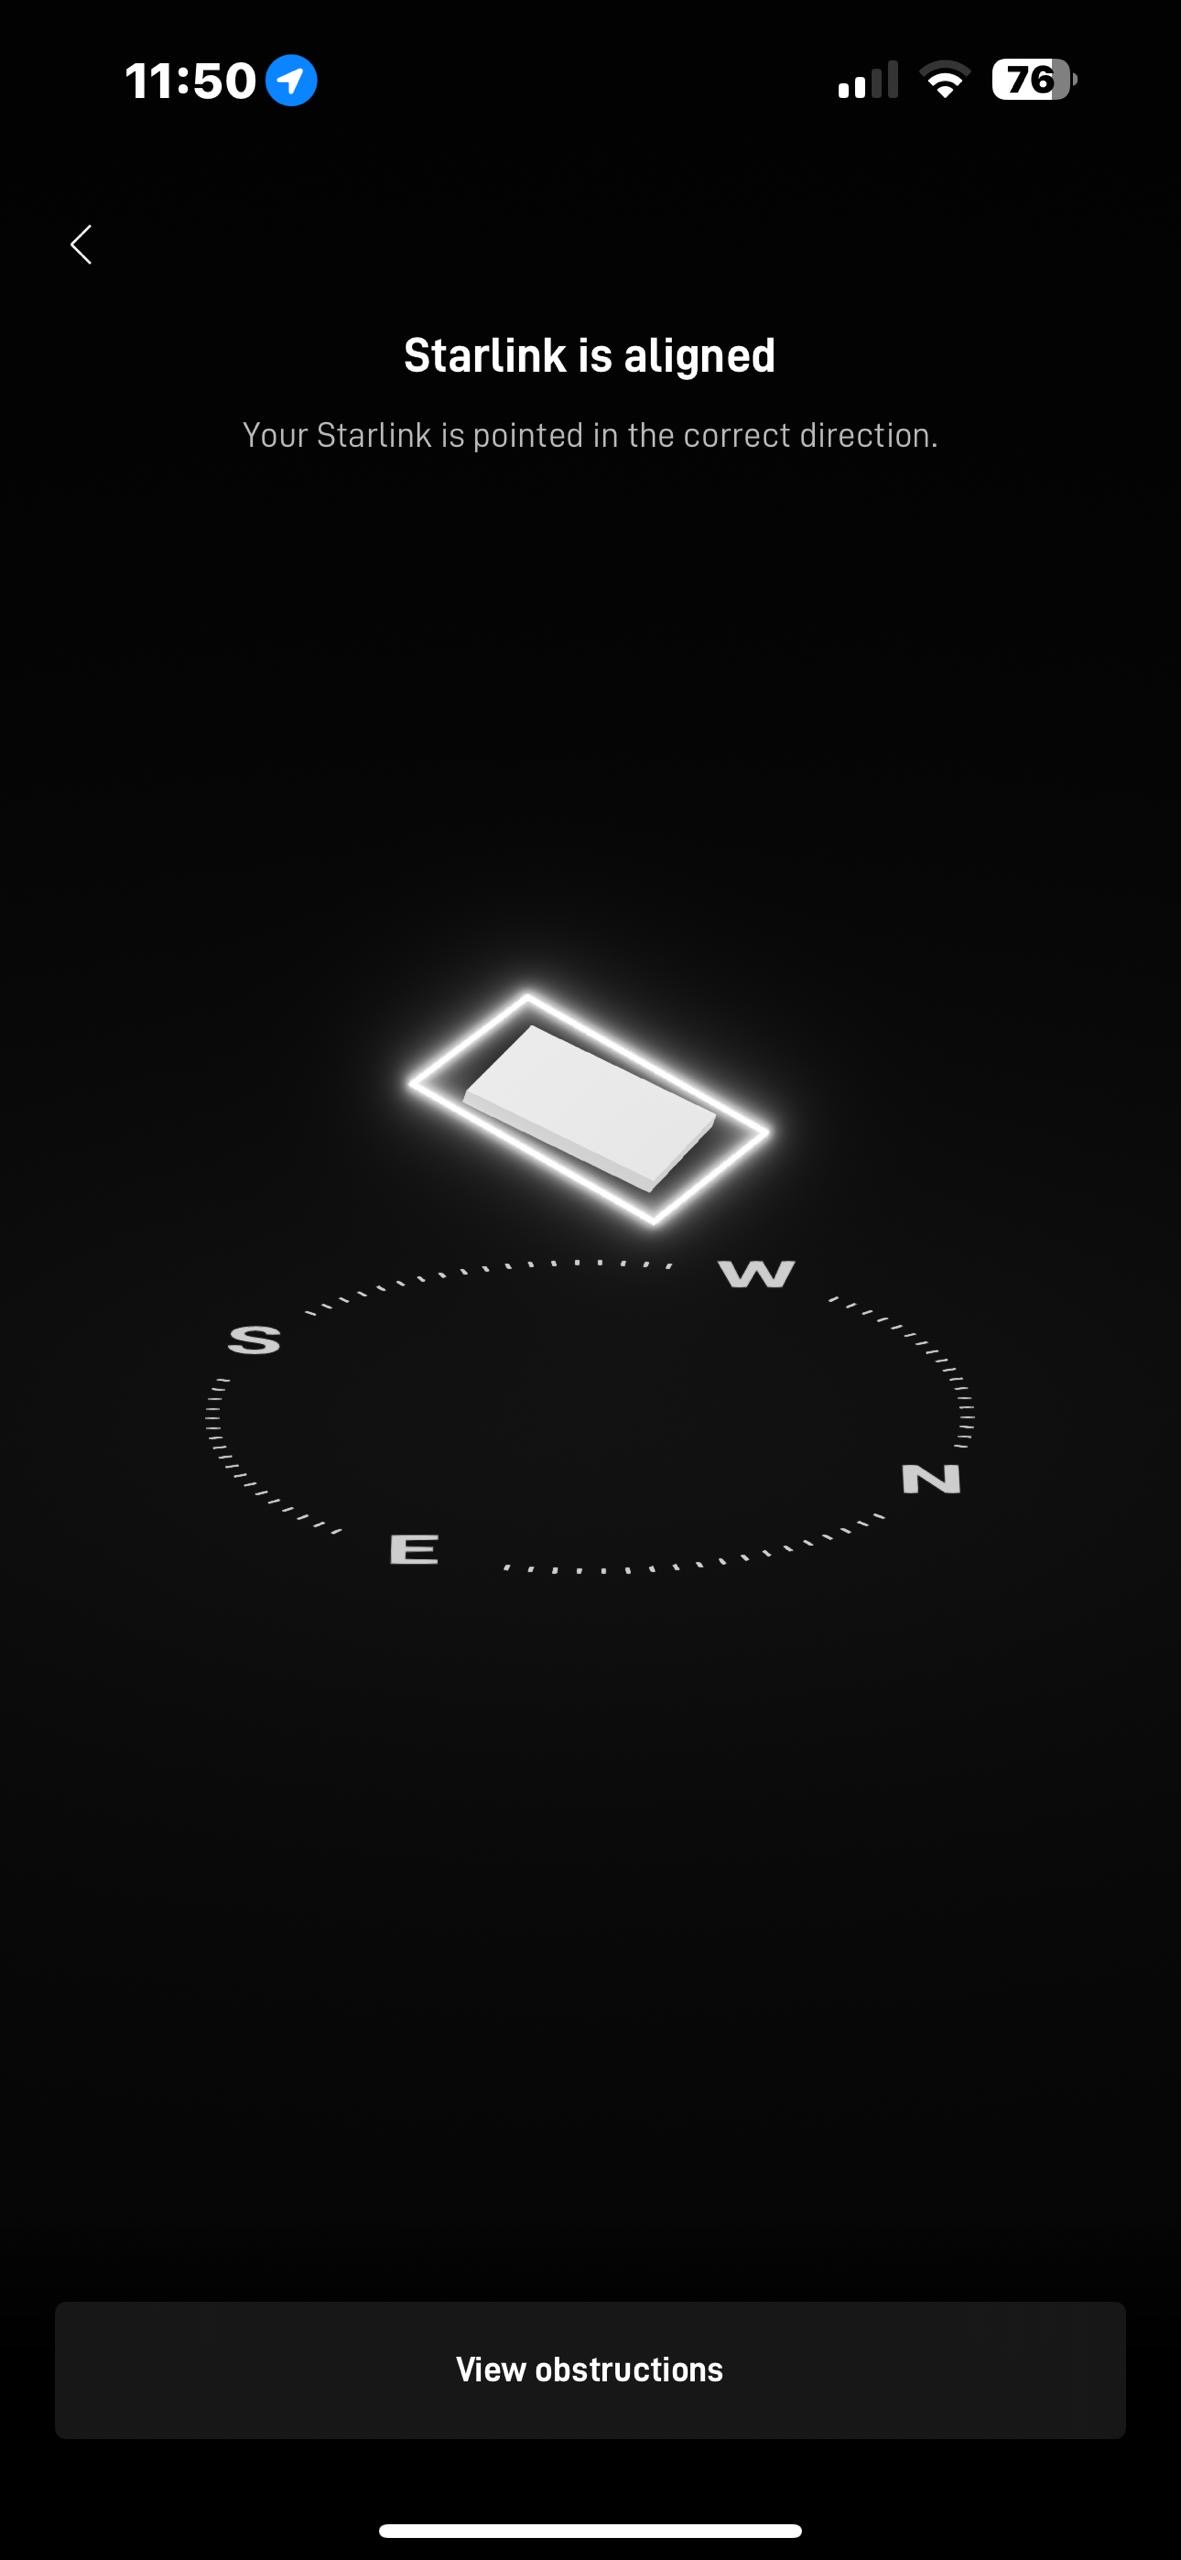
🧭 Step 3: Let It Auto-Align
If you’re using the rectangular Starlink dish (Gen 2 or Gen 3), good news — it’s motorized and self-aligning.
Once placed correctly, the dish will automatically:
• Tilt and rotate to the best satellite angle.
• Continuously adjust itself as needed.
There’s no need for manual alignment unless you’re using an older (round) version.
⸻
🛠 Manual Alignment (Only for Gen 1 Round Dishes)
If you’re using a Gen 1 round dish, follow these extra steps:
1. Use a compass app to face the dish in the correct direction:
• In Nigeria or West Africa: face it northwest, about 30–45° upward.
2. Use the Starlink app to monitor signal quality as you adjust.
3. Small changes in direction or tilt can make a big difference — move slowly.
⸻
📶 Step 4: Connect and Test
After the dish locks onto satellites:
• Connect your phone or device to the Wi-Fi (SSID and password are on the router or app).
• Open the Starlink App to monitor signal strength, latency, and uptime.
If you’re getting poor results, move the dish to a more open spot or raise it higher.
⸻
💡 Tips for Best Starlink Performance
• Mount the dish at least 8 ft (2.5 meters) high, or on a rooftop.
• Avoid trees, power poles, and even nearby satellite dishes.
• In mobile setups (RV, boats), ensure you’re using “Roaming Mode” if supported.
• Restart the system if it’s not responding or aligning after 20 minutes.
Comments
No comments yet. Be the first to comment!